Admin Panel
Investorm application provide a powerfull admin panel / dashboard that allows you to manage easily your application / platform.
As a admin you can manage you all orders such as deposit & withdraw, as well as invested plans with relevent transactions. Beside you have Application Settings, User Management, Payment & Withdraw Method and many more.
Please check below overview of admin dashboard:
Dashboard
After login into admin panel, you can see the main dashboard. This presents an info-graphic overview of the whole system and summarizes the key stats.

Transactions
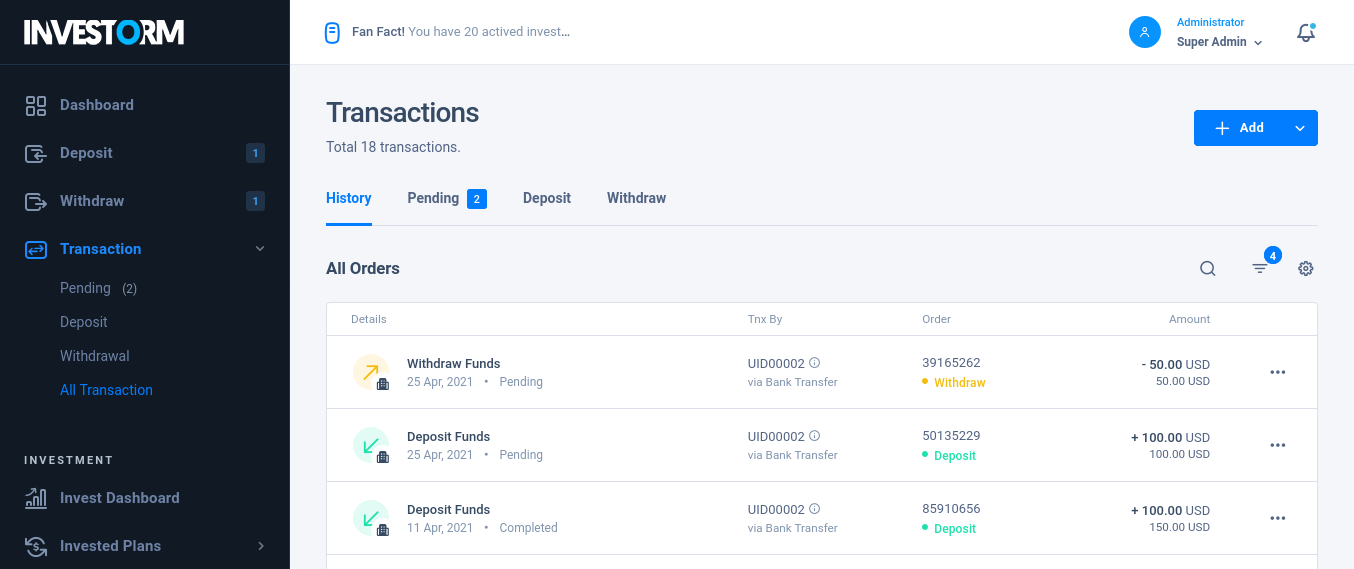
All the transaction happening in the system can be seen from transaction menu, where from you easily check list of transaction. The quick tab links help you to see the pending, process list.
Also you can do quick search and filter with different parametter. Not only that but also have other setting like pages per page, order by and density option etc.
Also you have separate Deposit & Withdraw on main menu so you easily access those.
Invest Dashboard
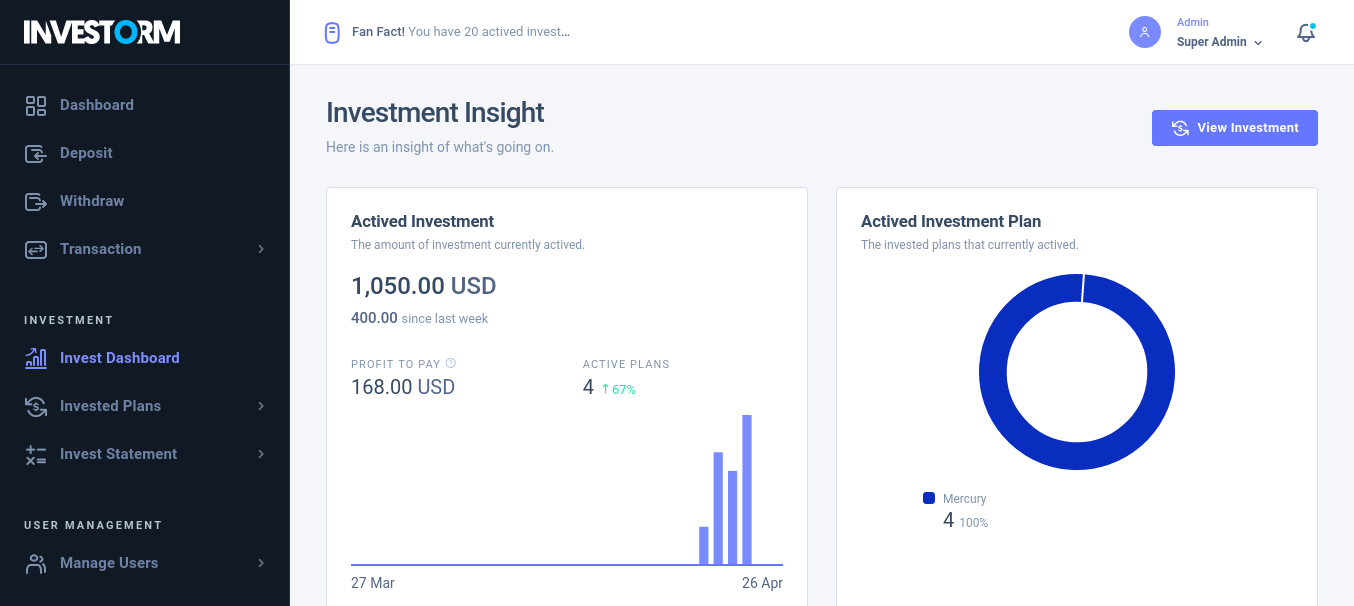
For adminstration, in application has another dashboard for Investment, a statistical overview of all types of information related to investment has been portrayed.
Invested Plans
All Invested Plans
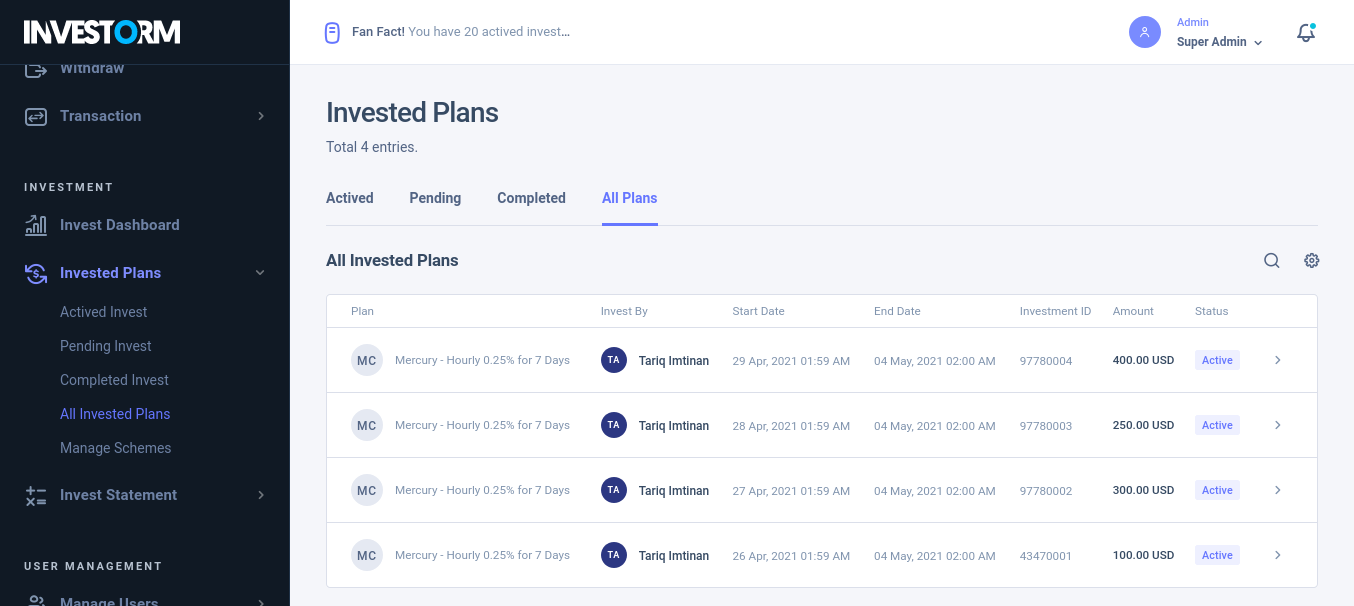
By following the Invested Plans -> All Invested Plans menu, you can see all the invested plans with the overview consisting of Invest By, Start Date, End Date, Investment ID, Amount, Status.
You can manage your invested plans also able to do search, filter and many more.
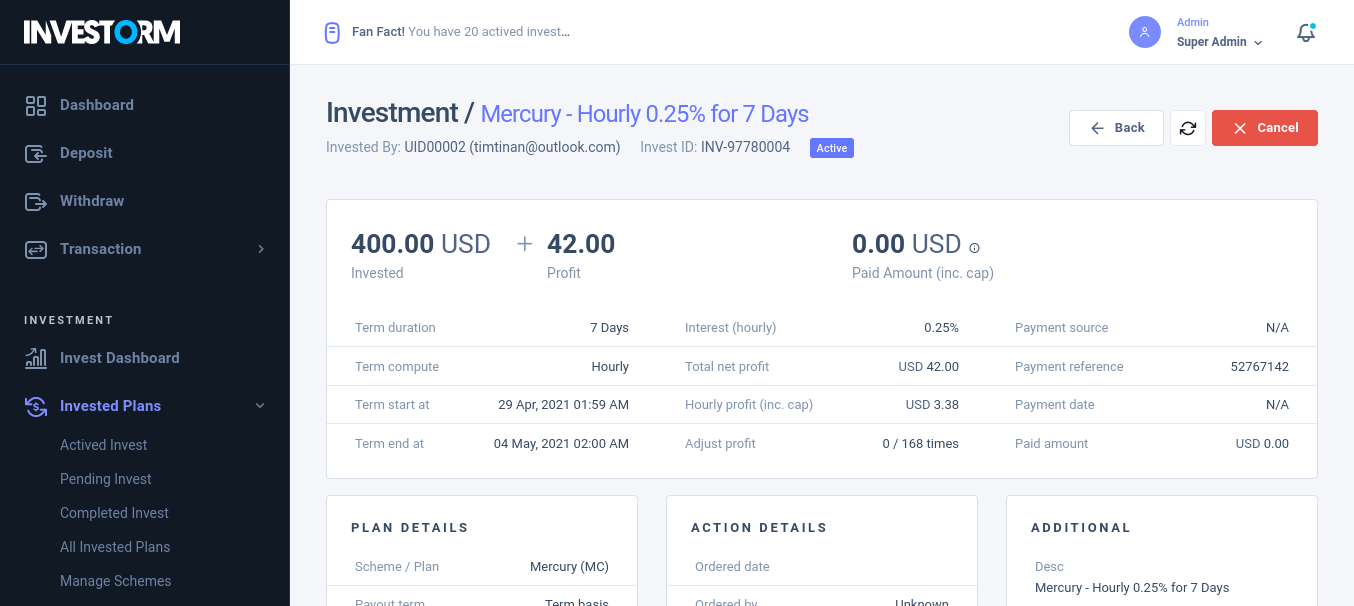
You can see details of each investment by clicking arrow icon.
Manage Schemes
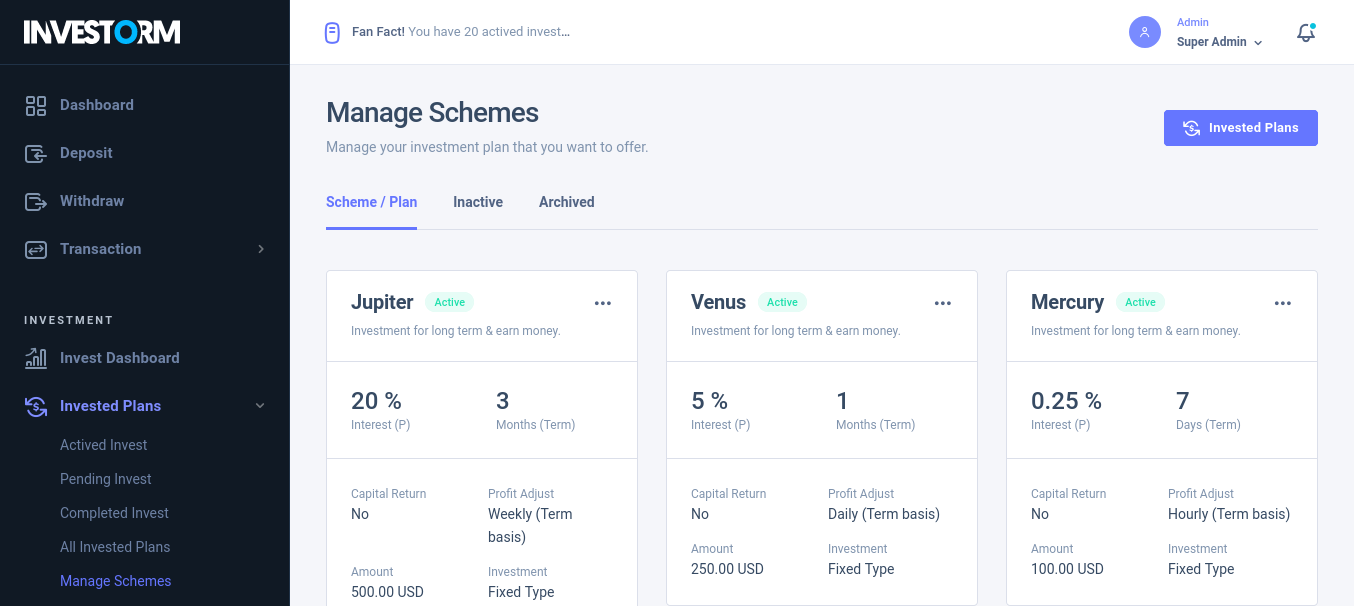
By following the Invested Plans -> Manage Schemes menu, you can manage schemes/plans that you offer to your user and user can invest on that plan.
You can easily update all the plans, it includes quick action so you can change the status (mark as inactive/active) within few clicks.
Calc Scheme Profits
Example of Investment Scenario
Let’s consider the scenario when a customer chooses the investment plan as below.
Suppose Customer’s invested 100 USD for 1.1% daily interest for 21 days where capital return (at the end of term) is set No/Disable.
So, here is how the system will pay interest to customers -
Invested - 100 USD
Interest - 1.1 USD
Capital - 4.7619 USD
Pay on Term - 5.8619 USD (for 21 days)
At the end of 21 days, the customer will receive -
a total amount of 123.1 USD where daily 5.8619 USD.
But if they plan set capital return (at the end of term) is set Yes/Enable, then calculation will be different as below -
Invested - 100 USD
Interest - 1.1 USD
Capital - 0 USD
Pay on Term - 1.1 USD (for 21 days)
At the end of 21 days the customer will receive a total amount of 23.1 USD as actual profit and the invested amount 100 USD will adjust into his investment wallet.
Invest Statement
All transactions
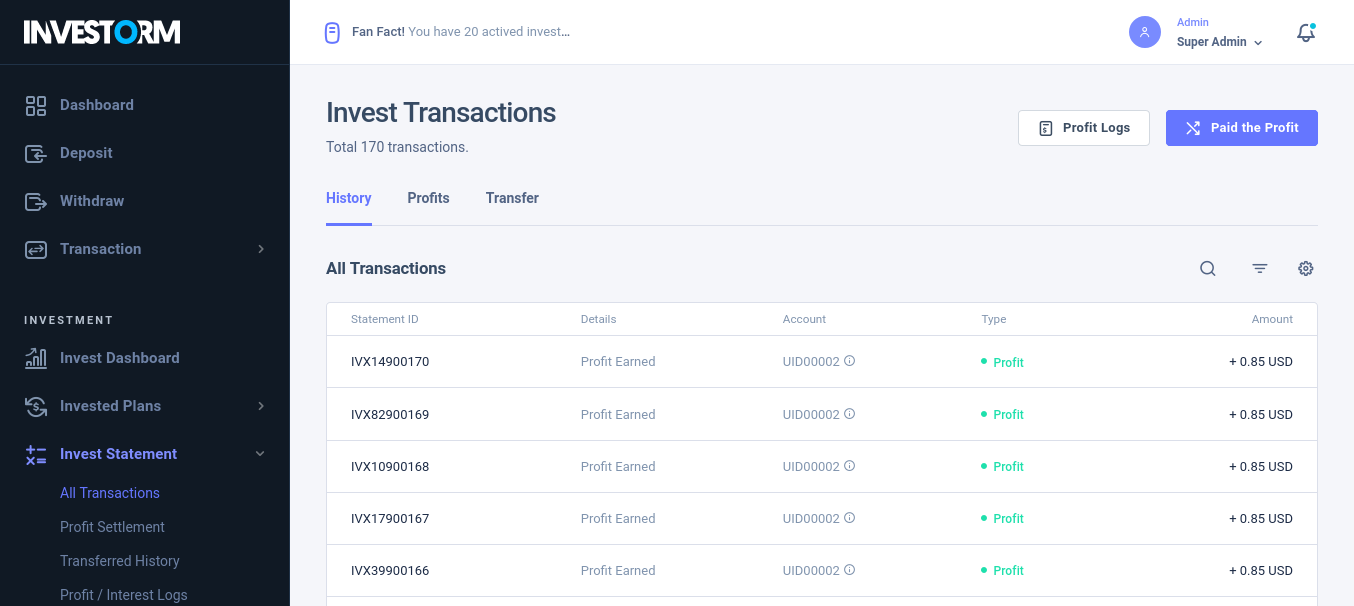
By following the Invest Statement -> All Transactions menu, you can see all the the transactions that related to investment.
It's included investment profits, capital invest, transfer to main wallet/account etc.
Profit Settlement
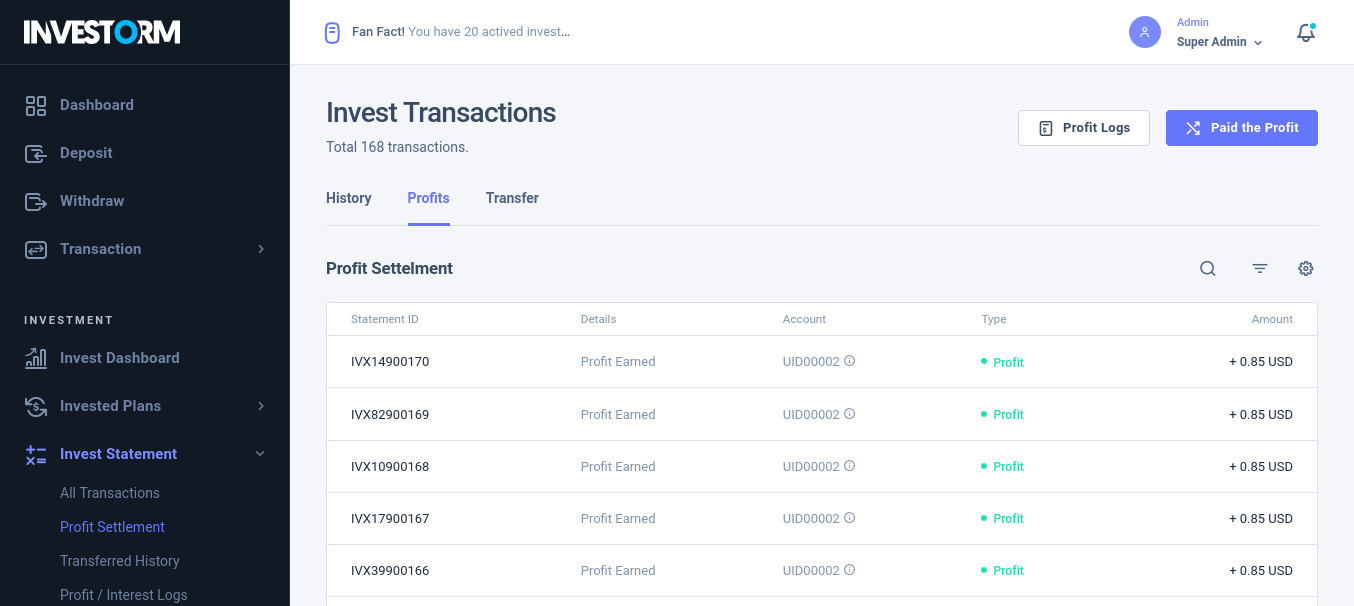
By following the Invest Statement -> Profit Settlement menu, you can see all the profits that already adjusted into investor accounts. So user able to withdraw the funds to their account after transfer the funds into main account.
Profit/Interest Log
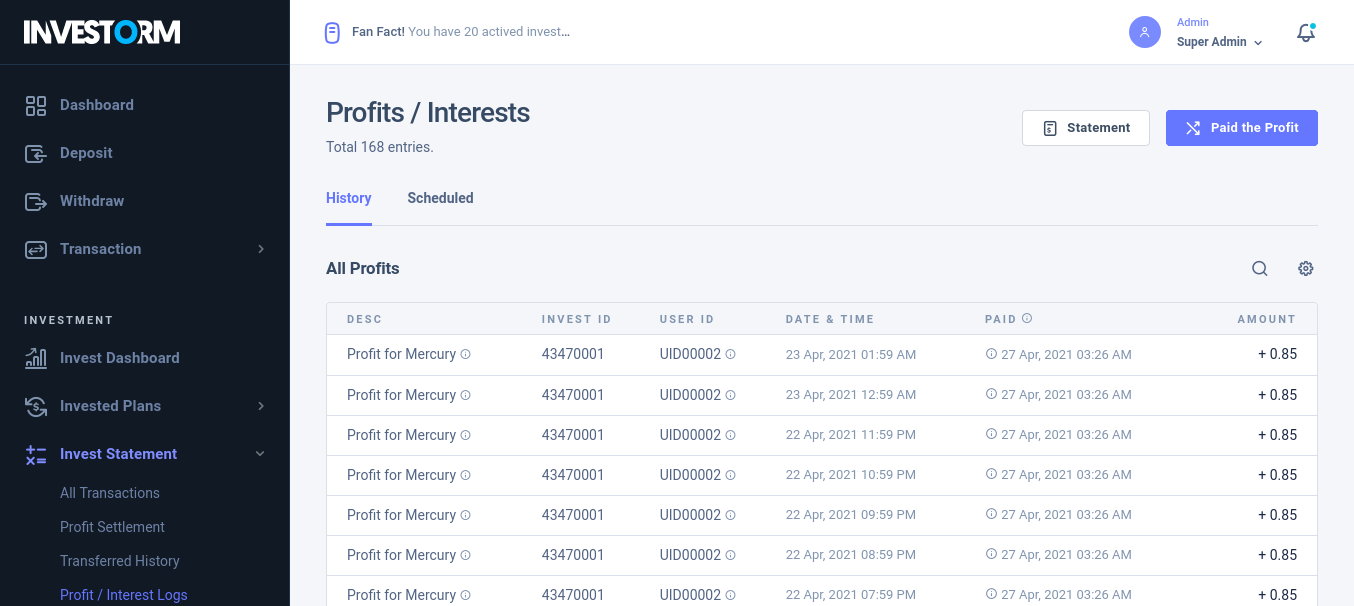
By following the Invest Statement -> Profit/Interest Logs menu, you can see all the profits that generated against each investment plan.
This page will help you to tracking the profits of the system convenient to users. Finally the unpaid profit of all the investment could paid by clicking Paid the Profit button. By which all the generated profit will be added to users investment wallet so they can transfer to main wallet.
Manage Users
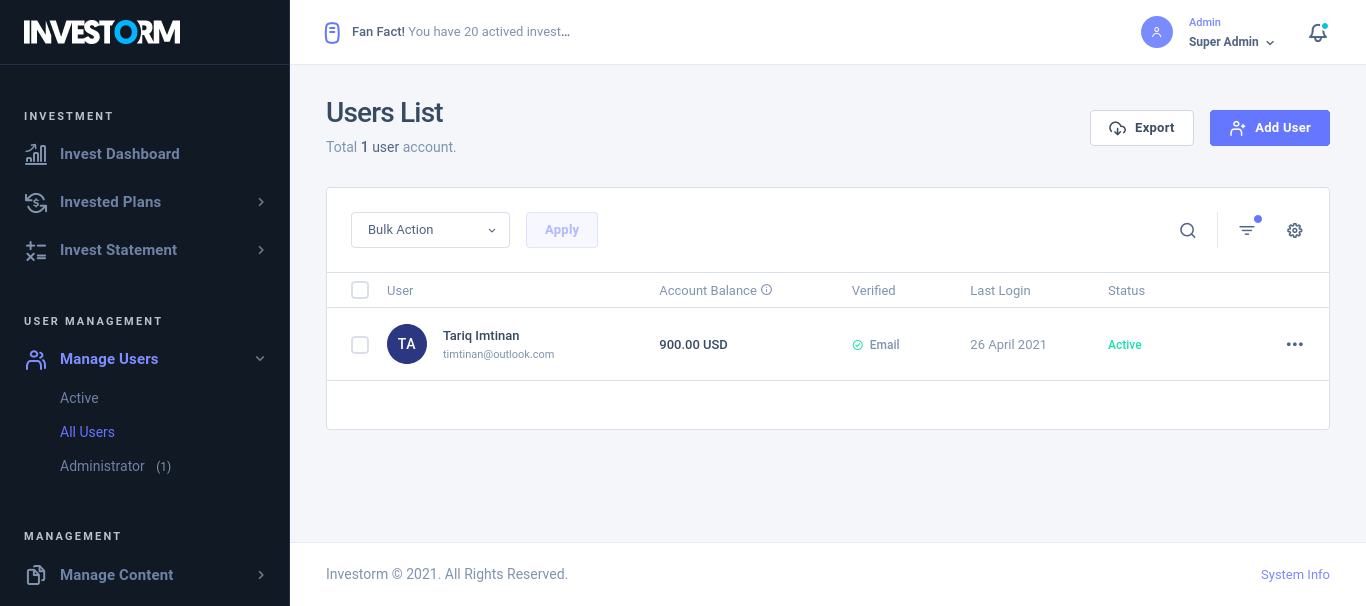
List of users / investor is shown on Manage Users -> All Users. From here you can take bulk action, search, view each user profile, their transaction, wallet balance and more details.
When you click on the Eye Icon or View Details option in any user from list, it will lead you to the see the complete details of that user.
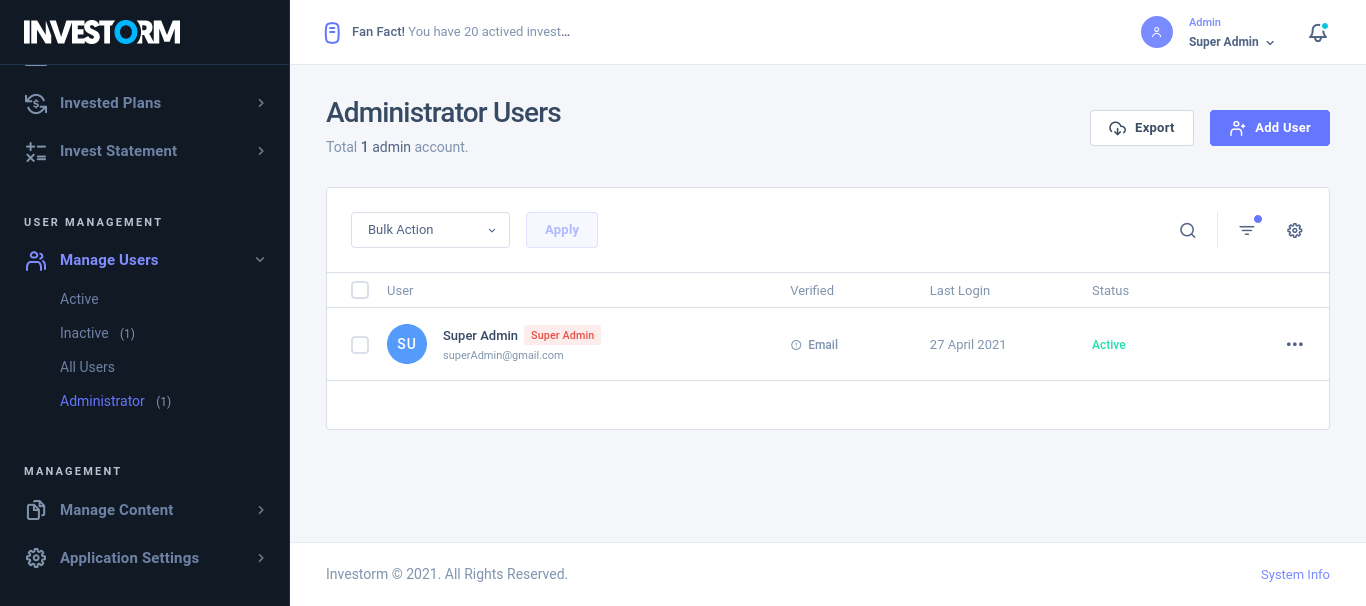
List of administrators is shown on Manage Users -> Administrator.
Manage Content
Manage Pages
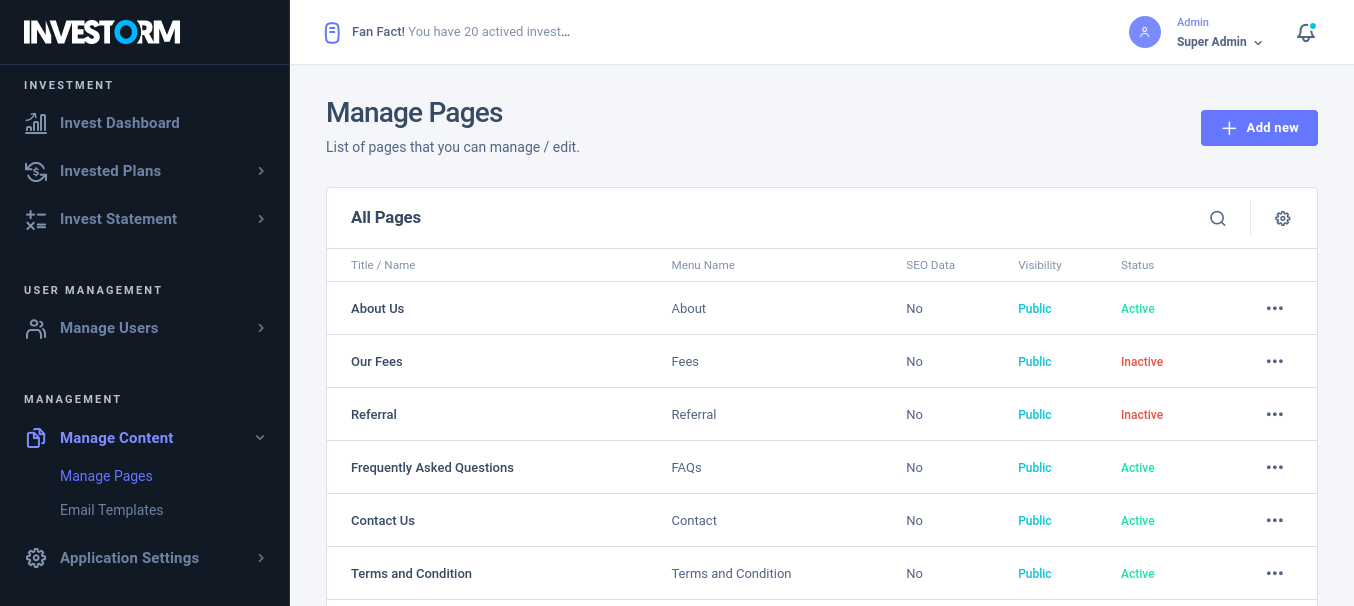
By following the Manage Content -> Manage Pages menu, you can manage/update all the pre-build pages as well as you can create new pages by clicking on Add New button.
Email Templates
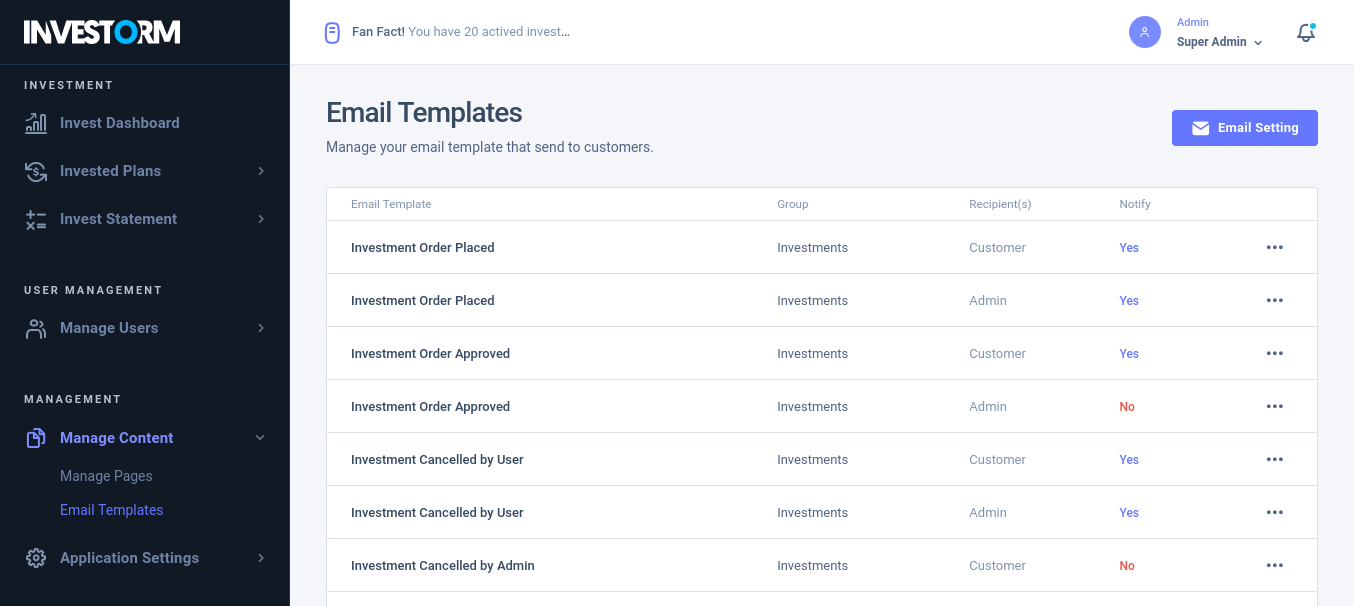
By following the Manage Content -> Email Templates menu, you can manage all the email templates that used in application.
If you click on more [...] btn beside any email template on the list, it will lead you to edit template.
Manage Language
Using Manage Lanuage option allows you to support multiple language or localize into your own lanuage. You can see the list of launages from Manage lanuage page.
Please note: You will need to translate your own language using defualt json file.
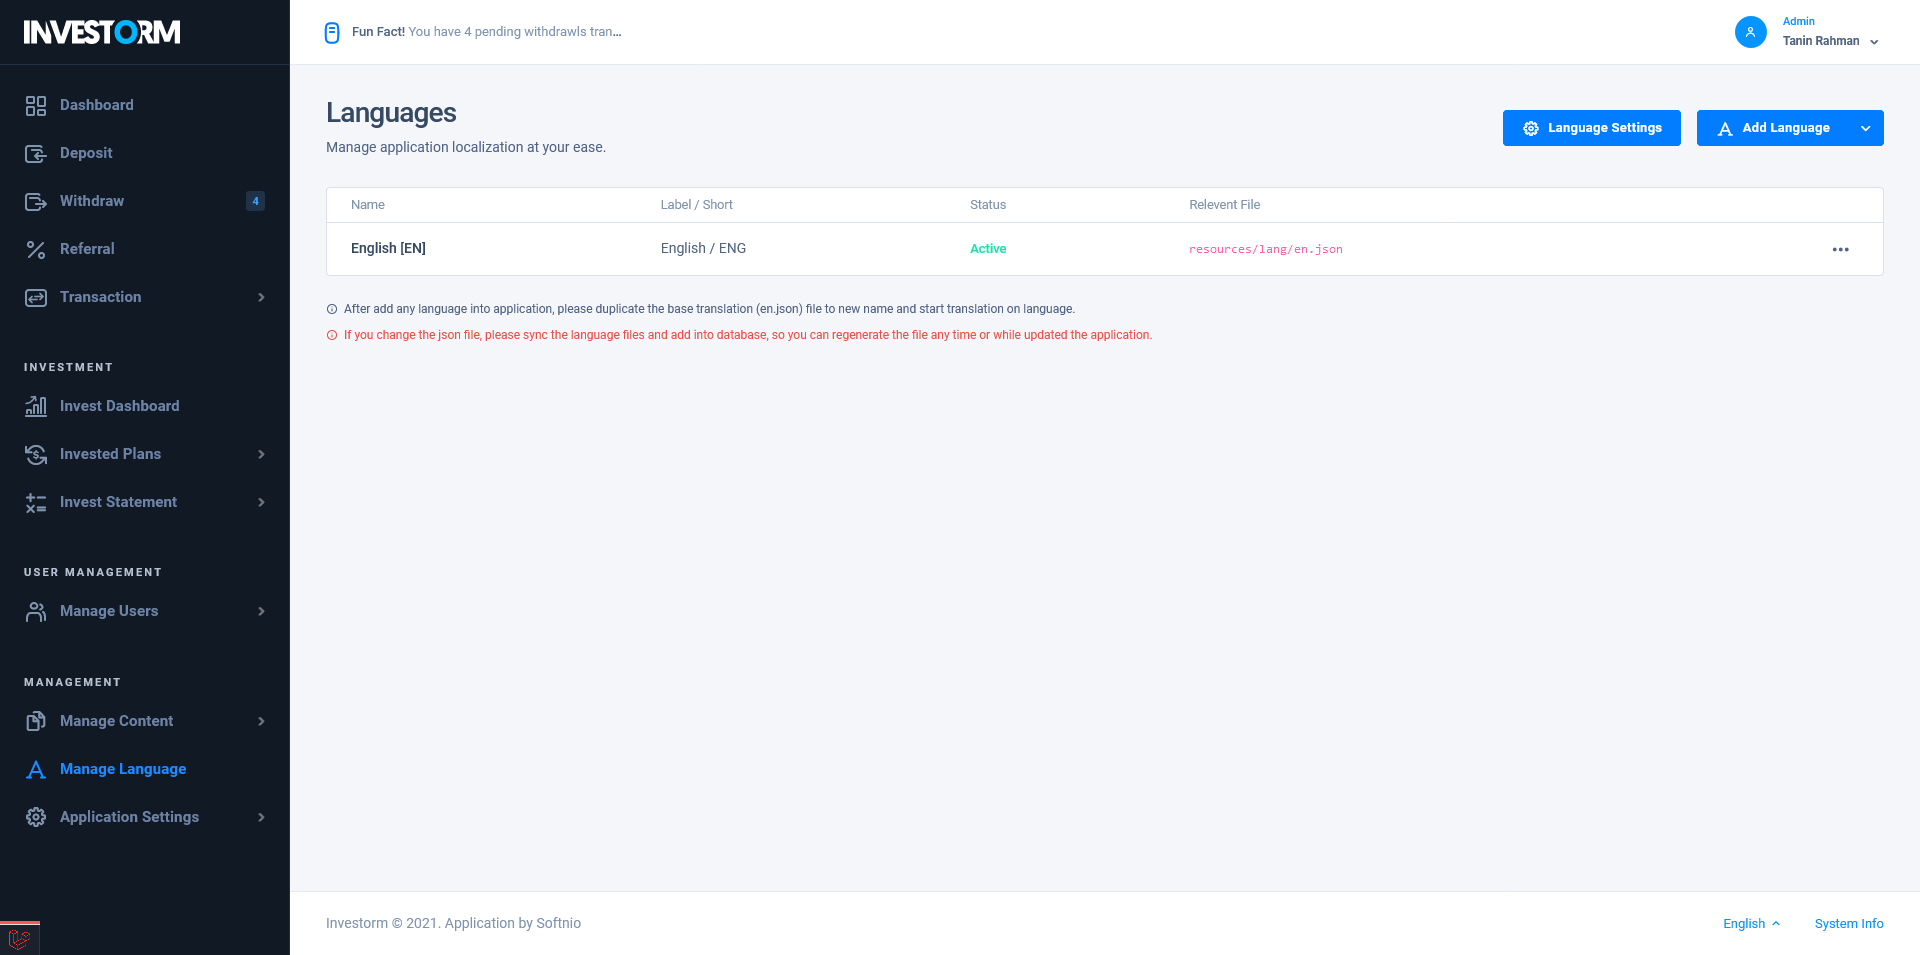
To add language click on the Add Language button and set Language name, Language Code, Language Label and Short name of the language.

To enable language switcher or setup default language, you need do that from Language Settings part from Application Settings > Global Settings.

How to Translate
To translate you need to duplicate the 'en.json' file (located at /lang folder) to new file and rename to same as new added language code as eg. fr.json. After that you have to manually change all the strings to your desired language into new json file.
Important Note
The editing process may bit hard as it require work with code and one simple mistake can lead to an error.
After editing complete you should place the files into /lang folder as same place and you must sync the translation strings into database.
By clicking to Sync to Database button will help you add translation strings into database. Incase you lost your .json files or upgraded your application then you can easily regenerate language files from your last synced data.
Caution
The regenerate language option only works if you previously synced json data into database.