Installation
Welcome to installation process of Investorm application. Once you have download the package of application, unzip the all files to your web servers root folder or where do you want to install.
Installation note:
If you want to install into sub-folder then simply rename the folder of 'public' to 'new_name'.
Also if you want into main-domain or sub-domain, then move all files from 'public' folder to 'public_html' or 'www' directory based on your server folder structure.
File Upload into Server: First of all, upload all folder and files into yor server as per below folder structure. Then change these folders storage/app/brand, storage/app/public, storage/framework, storage/logs, bootstrap/cache permission to 775. Sometimes base on server 775 permission not works, so you may set 777 and try out.
    // FOLDER PLACEMENT //
    |---root
    |---|---public *
    |---|---core_invapp

    // OR
    |---root
    |---|---public_html *
    |---|---core_invapp

    // OR
    |---www
    |---|---html *
    |---|---core_invapp
Remember the 'core_invapp' and 'public or 'public_html' or 'html' folder should be consider as siblings of a parent folder.
Before start installation, please ensure you have PHP 8.1 version.
Also you have all the necessary php extensions as given below:
    - PHP 8.1.0 Required
    - OpenSSL PHP Extension
    - PDO PHP Extension
    - Mbstring PHP Extension
    - Tokenizer PHP Extension
    - XML PHP Extension
    - Ctype PHP Extension
    - JSON PHP Extension
    - BCMath PHP Extension
    - FileInfo PHP Extension
Manual Installation
Step 1: Configure .env file
Please go to 'core_invapp' folder and edit the .env file. On this file please update accordingly to your information and save the file.
APP_NAME='YOUR_APP_NAME_HERE'
APP_VERSION='1.0.0'
APP_ENV=production
APP_DEBUG=false
APP_LOG_LEVEL=debug
APP_URL=http://yourdomainname.com

FORCE_HTTPS=false
DB_CONNECTION=mysql
DB_HOST=127.0.0.1
DB_PORT=3306
DB_DATABASE=your_db_name
DB_USERNAME=your_db_user_name
DB_PASSWORD=your_db_password
You must change these values before move forward.
APP_NAME,APP_URL,DB_HOST,DB_PORT,DB_DATABASE,DB_USERNAME,DB_PASSWORD
Step 2: Import SQL file
Once database information updated on .env file then please import the SQL file dummy_app.sql into your database. You will find the file in manual-install-files folder.
Step 3: Copy installed file
Now, please copy the installed file (available in manual-install-files folder) and placed into core_invapp/storage folder just before finally open url.
Step Final
Once steps above are completed go to your website url https://your-domain.com/ and activate the application with your correct purchase information.
Nio Installer Wizard
Step one: Once you have extact the files and placed correctly then simply Visit your website url to get started.
Visit your website url https://your-domain.com/. This will start the installation process with Nio Laravel Installer.
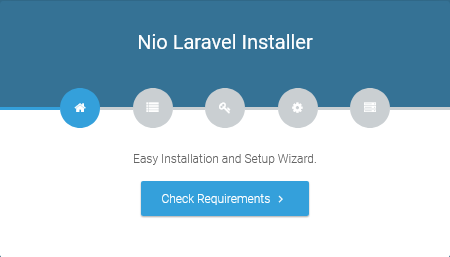
Step two: Check requirements
Check and verify all the requirement given in this list.
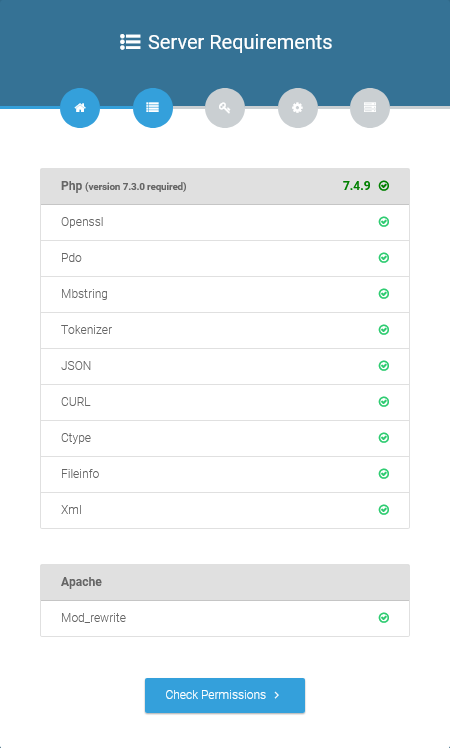
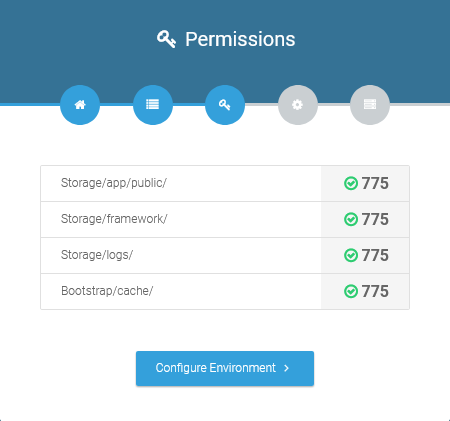
Step three: Directory permission
Check all the directory permissions.
Step four: Application & Database Information
Set your application name and App Environment to Production and in Database Setup page, set your database credentials.
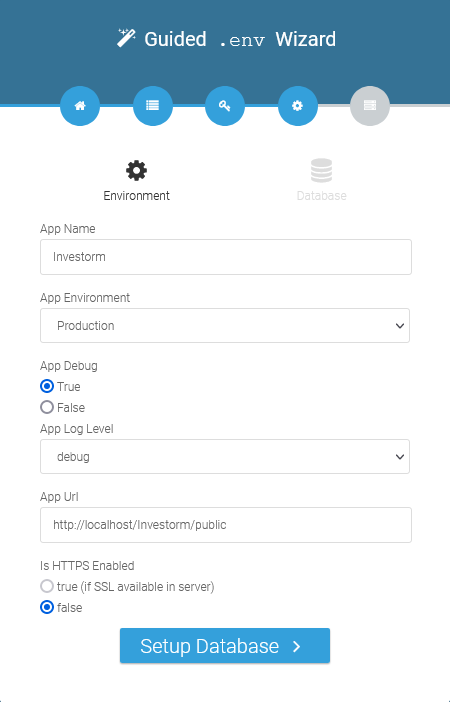
Set your database connection type, host, port, db-name, db-username, db-user-password
Final Step
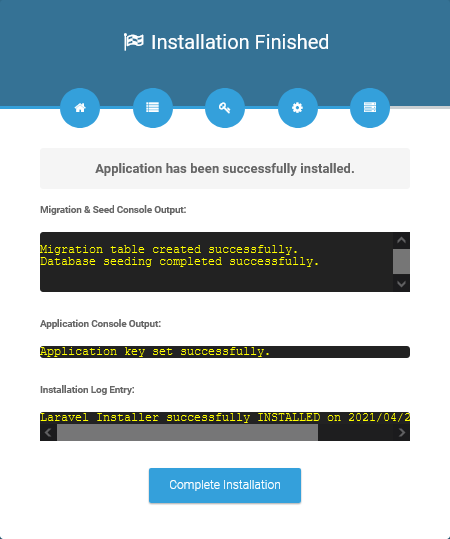
Once you have completed all steps, then it will migrate the database and seed default settings. Once it done then you need to click Complete Installation and page will redirect to License activation page so you need to activate the application with your correct purchase information.
Reinstallation
After installation complete, if you see something is wrong or you want to re-install the application again, then follow below instruction.
You may just remove this file
storage/installed. and drop all database table or provide new db and then go to your website URL, you will be redirect to the installation page.